 |
Get started with your new Recommended installation - step by step |
This page is printer friendly. Print a copy for future reference. |
|
Before you start... Place in front of you the following elements: your new iXoundWear™ cap, your earbuds of choice, your iPod® Nano and one of the two wire-spools provided with the cap. |
 |
|
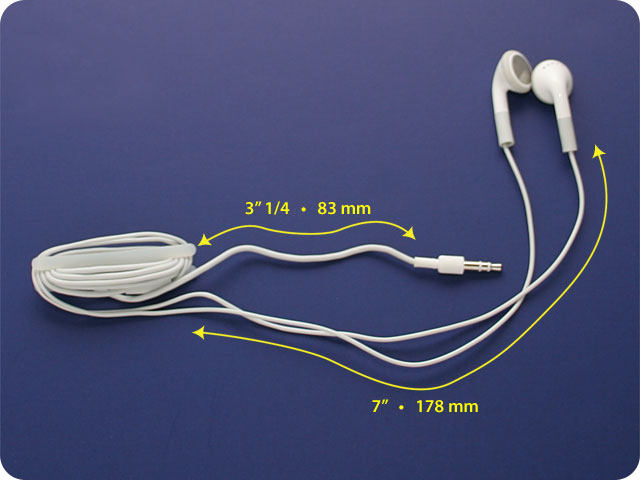
Step 1 Wind up the headset cord around the wire-spool. The length of wire left between the headset plug and the wire spool should be 3"1/4 (83 mm). The two stretches of wire left between the earpieces and the wire-spool should measure at least 7" (178 mm). |
 |
|
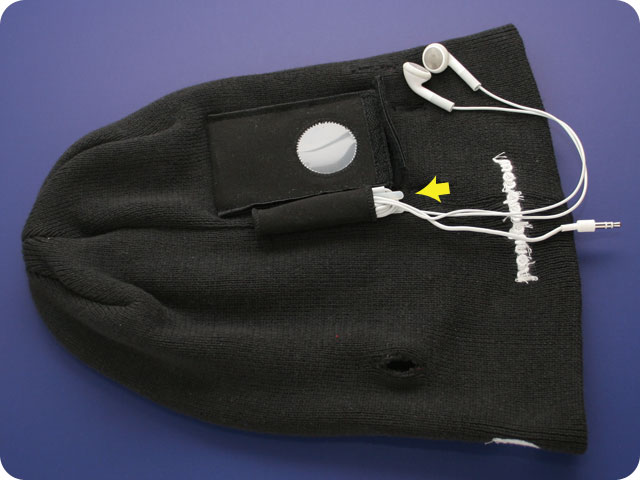
Step 2 Push the wire bundle inside the wire pocket. |
 |
|
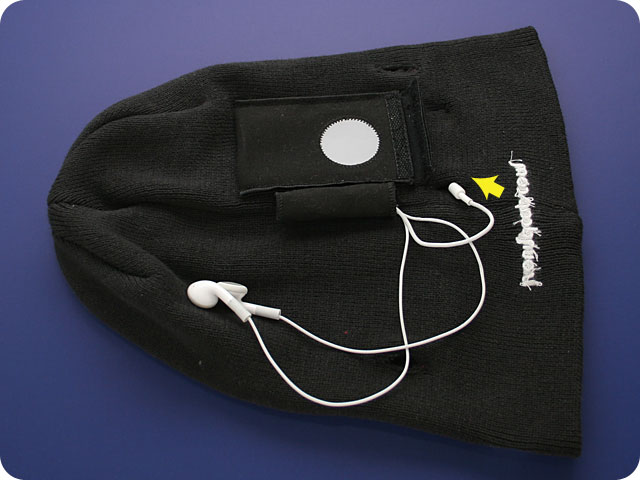
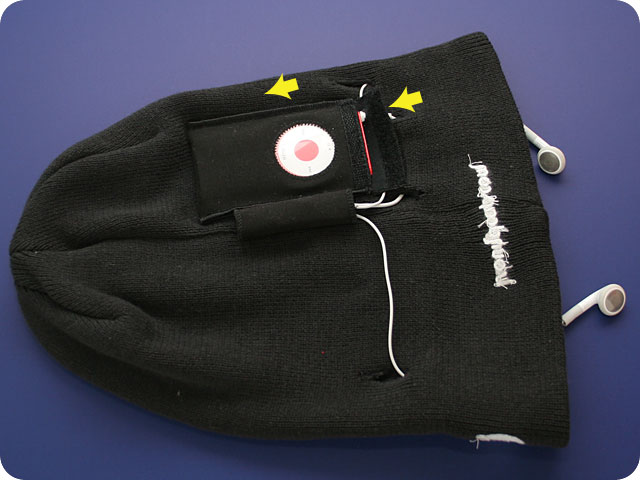
Step 3 Run the headset plug into the first connector eyelet beneath the player pocket. |
 |
|
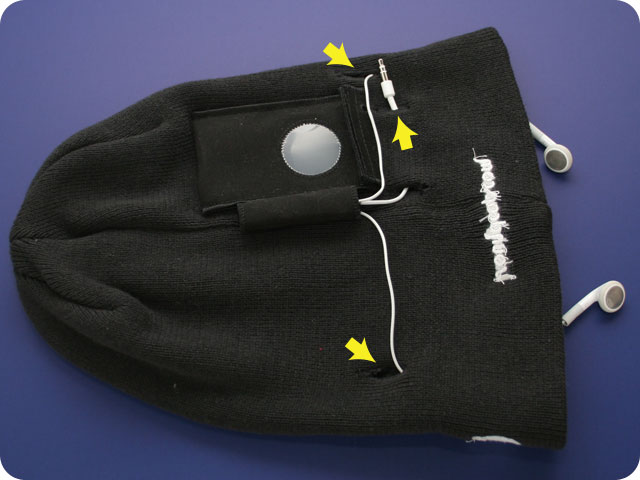
Step 4 Make the headset plug come out from the second connector eyelet beneath the player pocket. |
 |
|
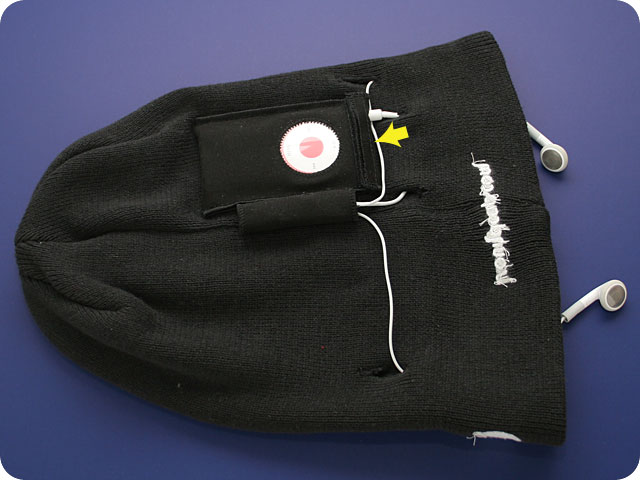
Step 5 Slide your iPod® Nano into the player pocket. |
 |
|
Step 6 Tightly close the Velcro® flap. |
 |
|
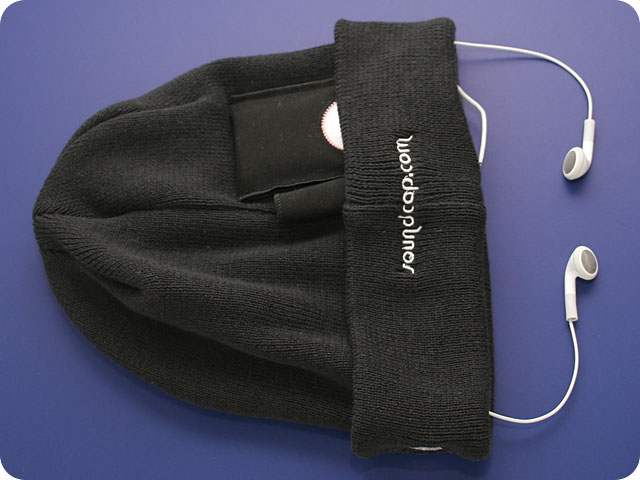
Step 7 Fold up the lower part of your cap so as to cover almost half of your player (the crease will run immediately beneath the earpiece eyelets). Done! Put it on and plug in your earbuds. |
 |
| iXoundWear, Inc.© 2013 - iPod® is a trademark of Apple Inc., registered in the U.S. and other countries. Shuffle™ is a trademark of Apple Inc. The works of authorship contained in this document including, but not limited to all design, text and images, are owned, except as otherwise expressly stated, by iXoundWear, Inc. and may not be copied, reproduced, transmitted, displayed, performed, distributed, rented, sublicensed, altered, stored for subsequent use or otherwise used in whole or in part in any manner without the prior written consent of iXoundWear, Inc., except to the extent that such use constitutes "fair use" under the Copyright Act of 1976, and except for one temporary copy in a single computer’s memory and one unaltered permanent copy to be used by the viewer for personal and non-commercial use only. |